
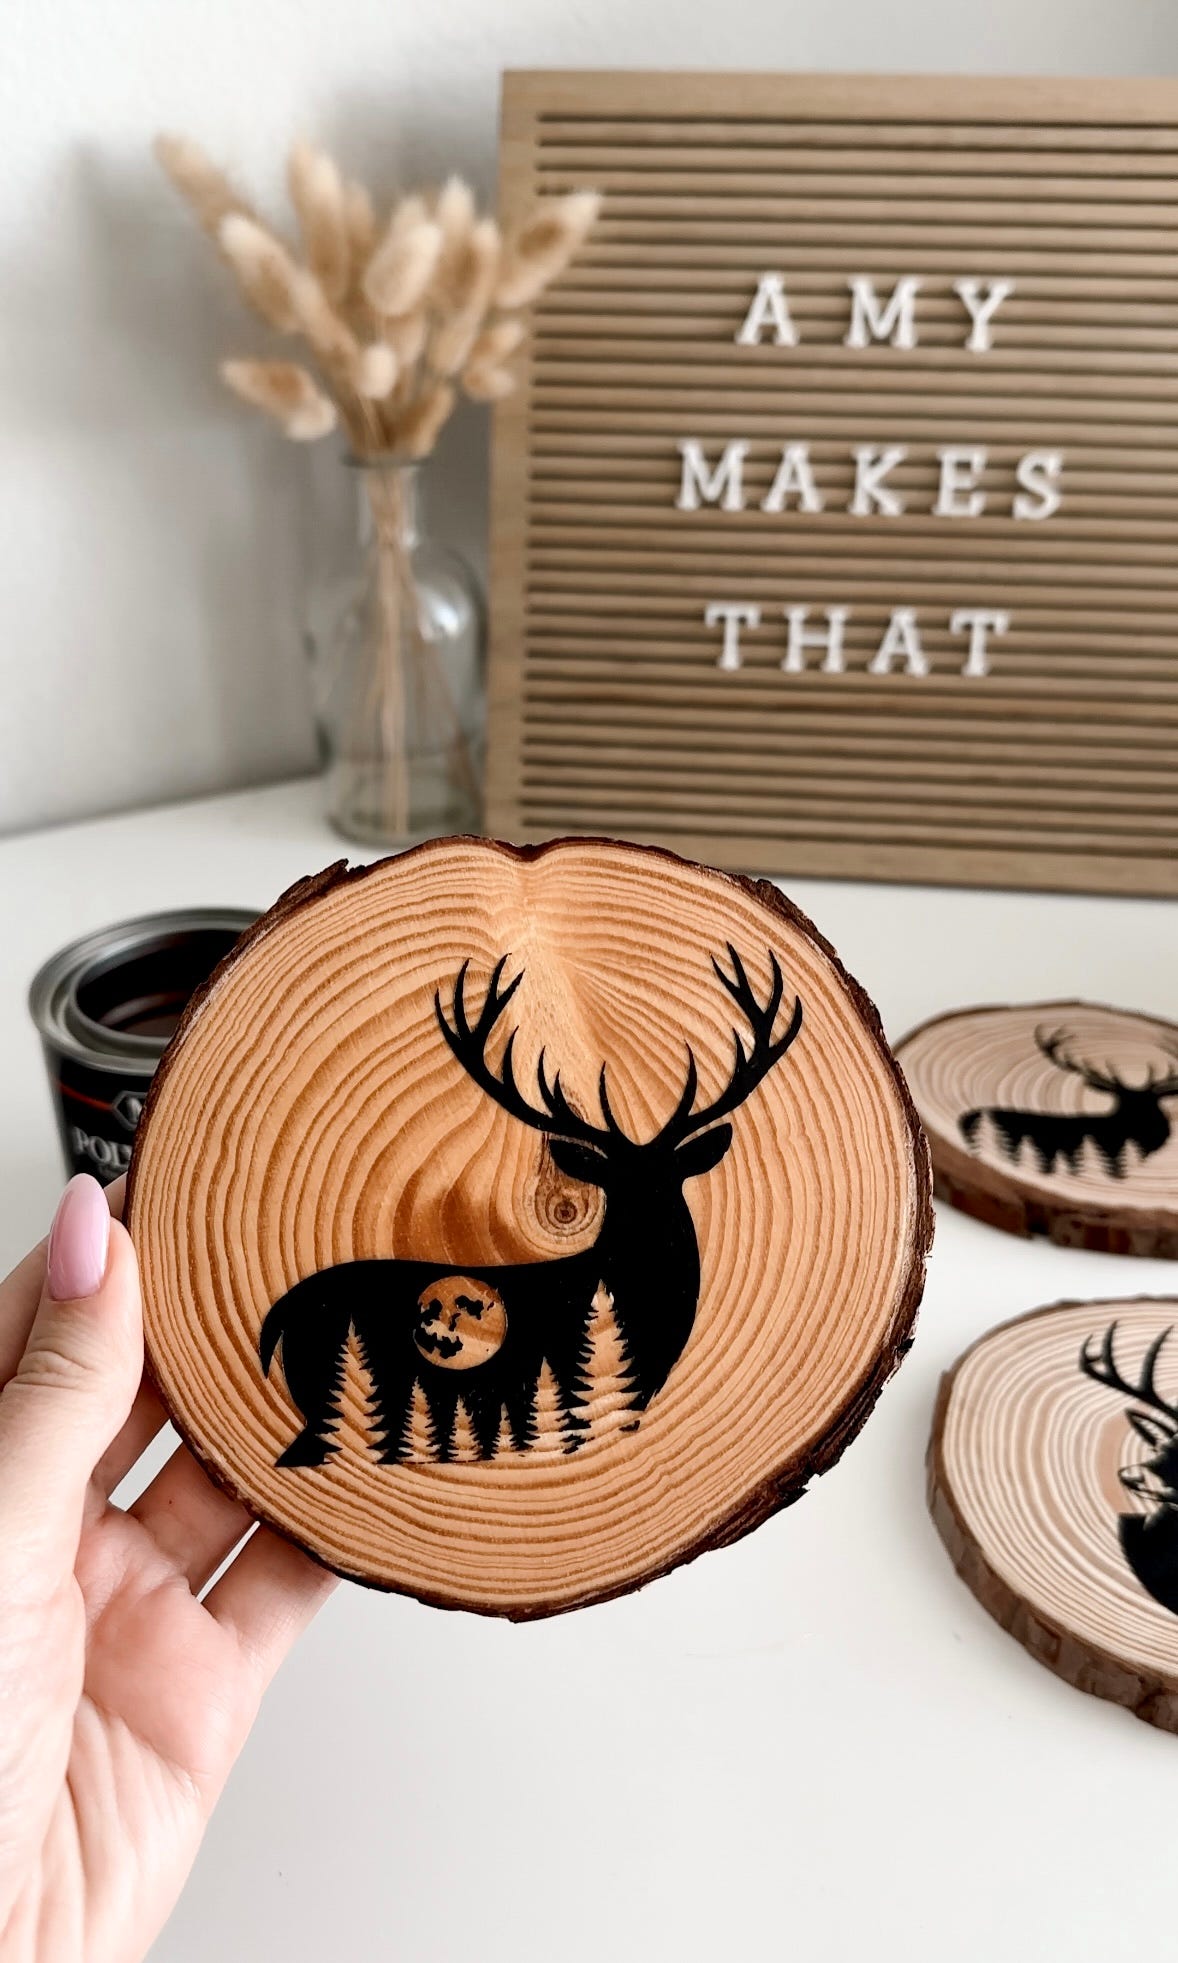
DIY Wood Slice Coasters
make these rustic, wood coasters with your Cricut machine!

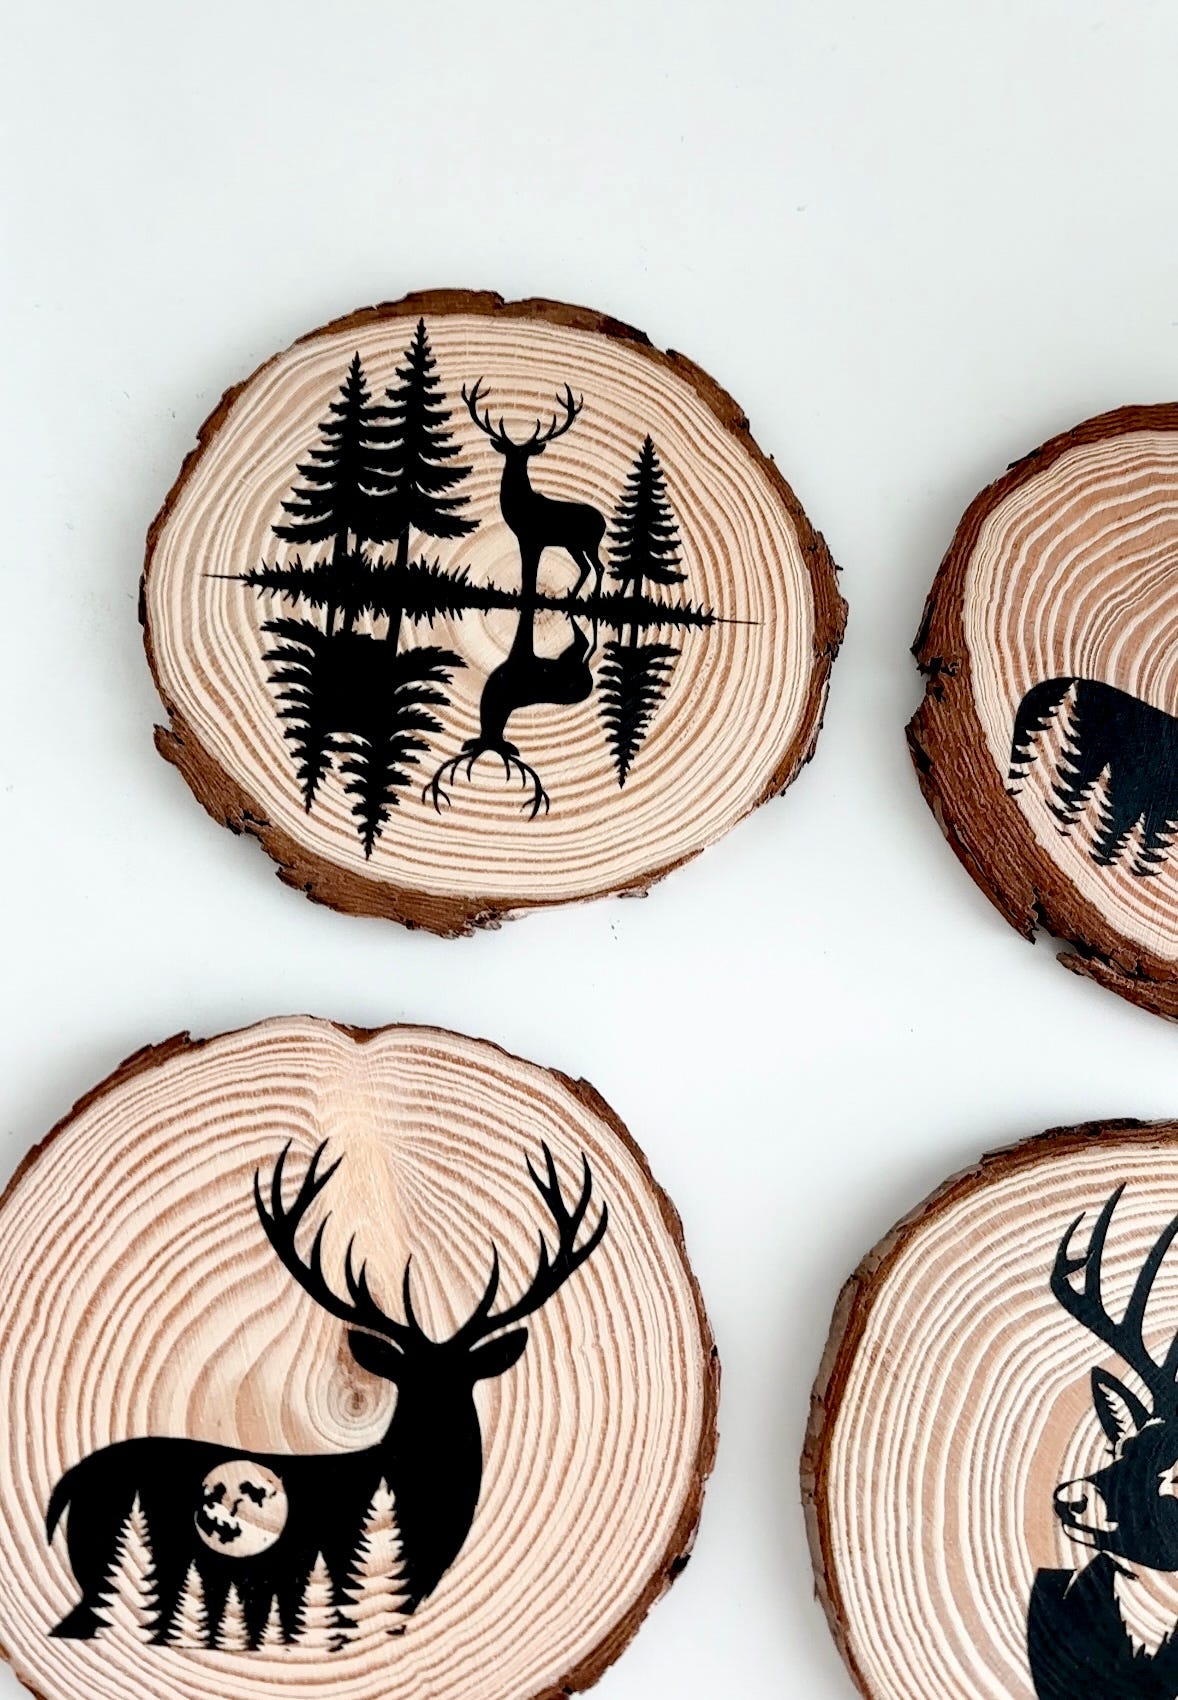
If you’ve been around here for a while, you know I have a soft spot for anything rustic or western related 🤎 (just scroll back to my early Cricut days lol)
These wood slice coasters are perfect for:
Father’s Day gifts
Cabin decor
Western-inspired homes
Housewarming gifts
Plus, we’re trying a NEW sealant and using one of my favorite Cricut tricks for getting crisp paint lines with no bleeding.
✂️ Supplies You’ll Need
📲 SVG / Template Download
I grabbed all of the images from Creative Fabrica! (They’re my go-to when I don’t have time to design but need images fast!)
I’ve linked them below for you ⬇️
Wildlife SVG Bundle (I used 3 from this bundle!)
But of course, you can use any woodland, western, or nature-inspired design you'd like!
🛠️ Instructions
Step 1: Upload the Design in Cricut Design Space
Upload the PNG images into Cricut Design Space and size it for your coaster. All of the wood slices vary in size, so double-check those measurements with a ruler!
You may have to size them all differently.
Step 2: Prep The Wood Slices
Start by lightly sanding each wood slice.
This helps smooth out any rough areas and gives you a better surface for both the stencil and paint. Remember to use a FINE sanding block, I used 220 grit!
You don’t need to go crazy here, just a quick sanding will do!
Step 3: Cut The Stencil With Your Cricut
Place the removable vinyl onto the mat and send it to cut. Removable vinyl is my go-to for any stencil or paint project because it doesn’t ruin the blank and is durable enough for painting!
Setting Used: Premium Outdoor Vinyl
Step 4: Weed the Design (Opposite of Normal!) + Apply Transfer Tape
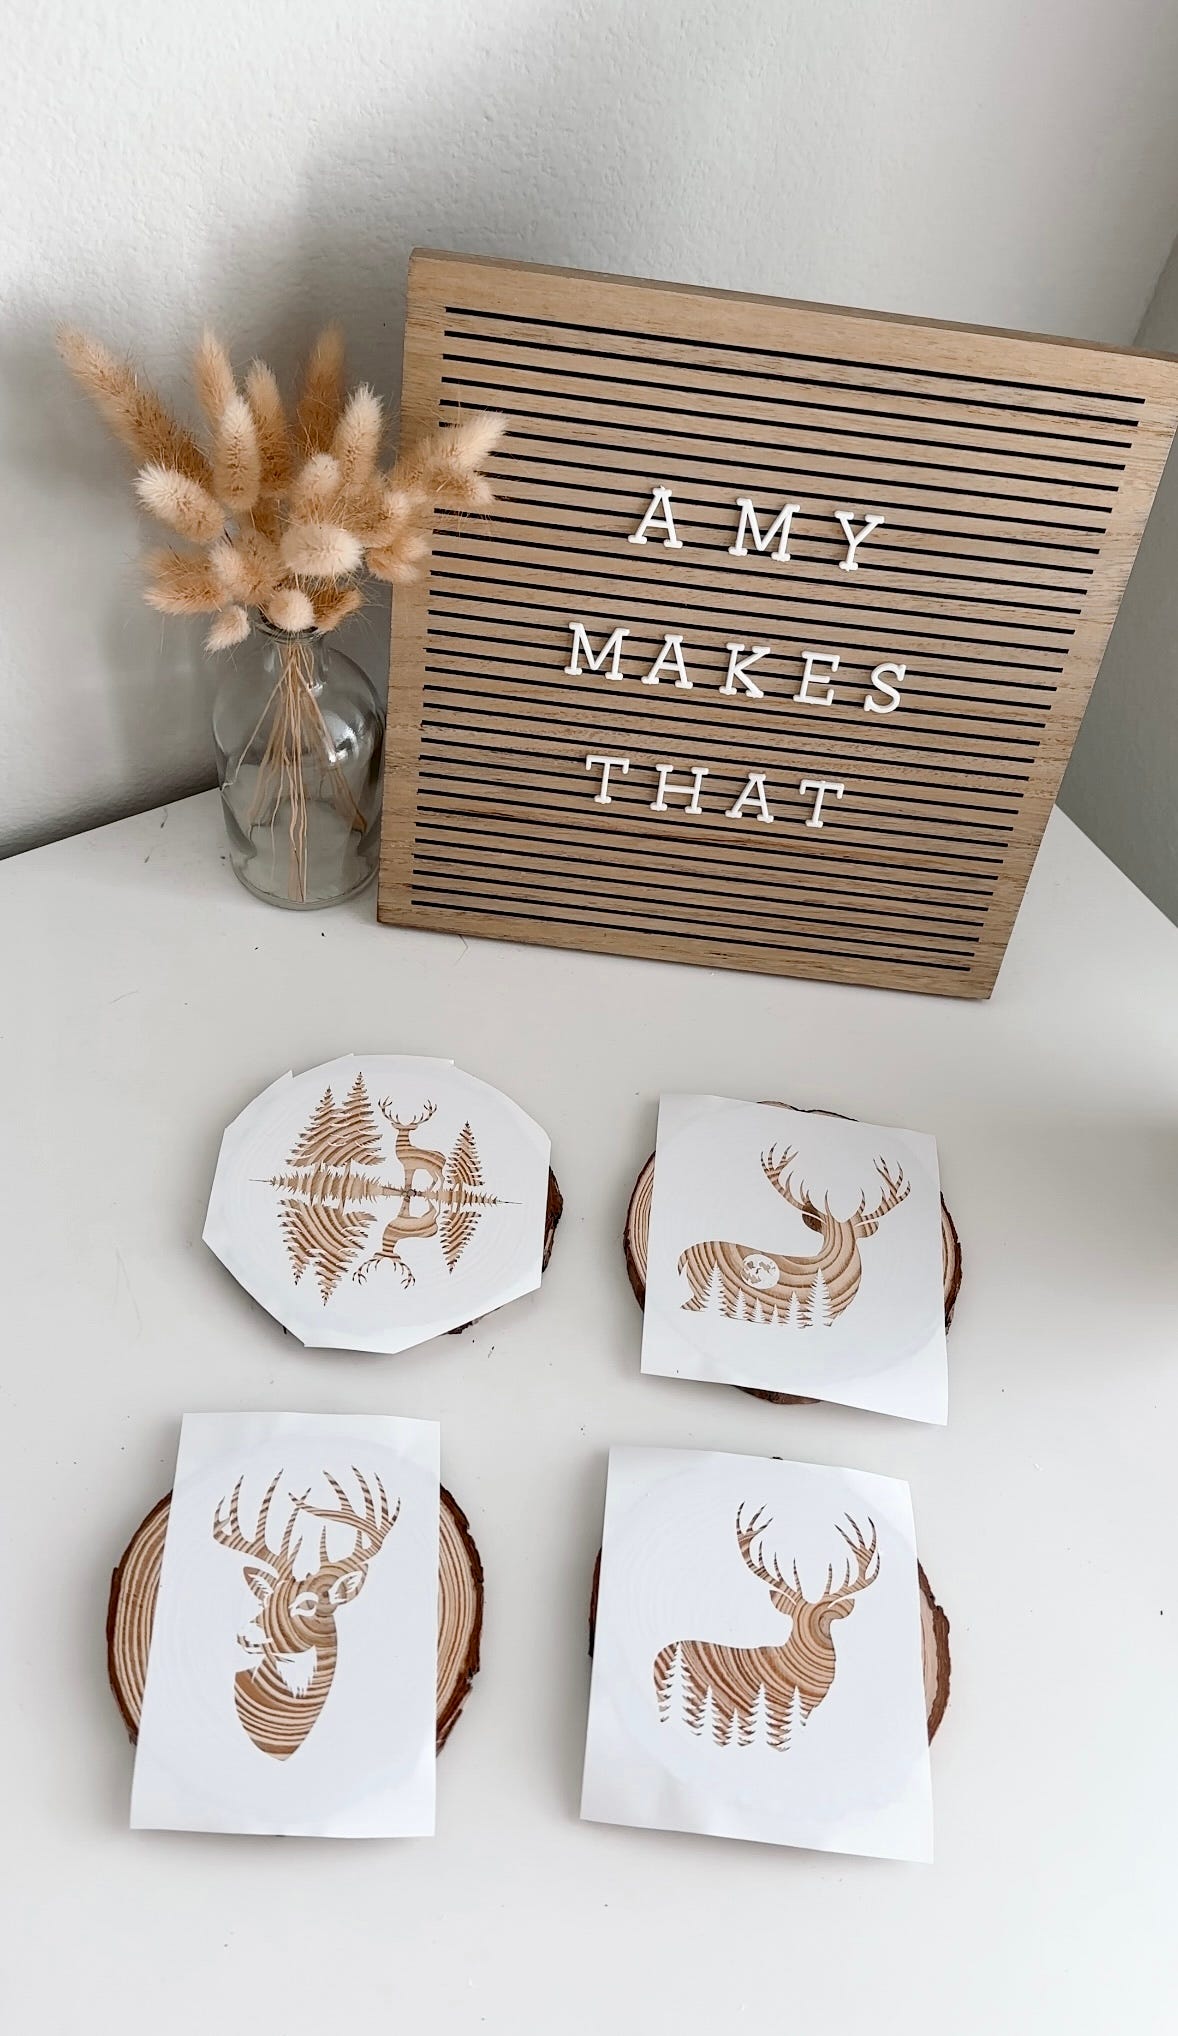
Once the Cricut is done cutting, remove the vinyl from the mat. Then cut each stencil so all the designs are separated.
Here’s the important part:
Since this is a stencil, you’ll want to use your weeder tool and weed out the actual design, not the background.
Normally, we weed to reveal the design, but this time we’re creating empty spaces in order for us to paint! It helps to refer back to the original images to make sure you’re weeding it correctly 😅
Once the stencils are weeded, apply transfer tape with your scraper tool to scrape it firmly, then remove the transfer tape so only the stencil remains on the wood slice.
Step 5: Apply Mod Podge, Then Paint!
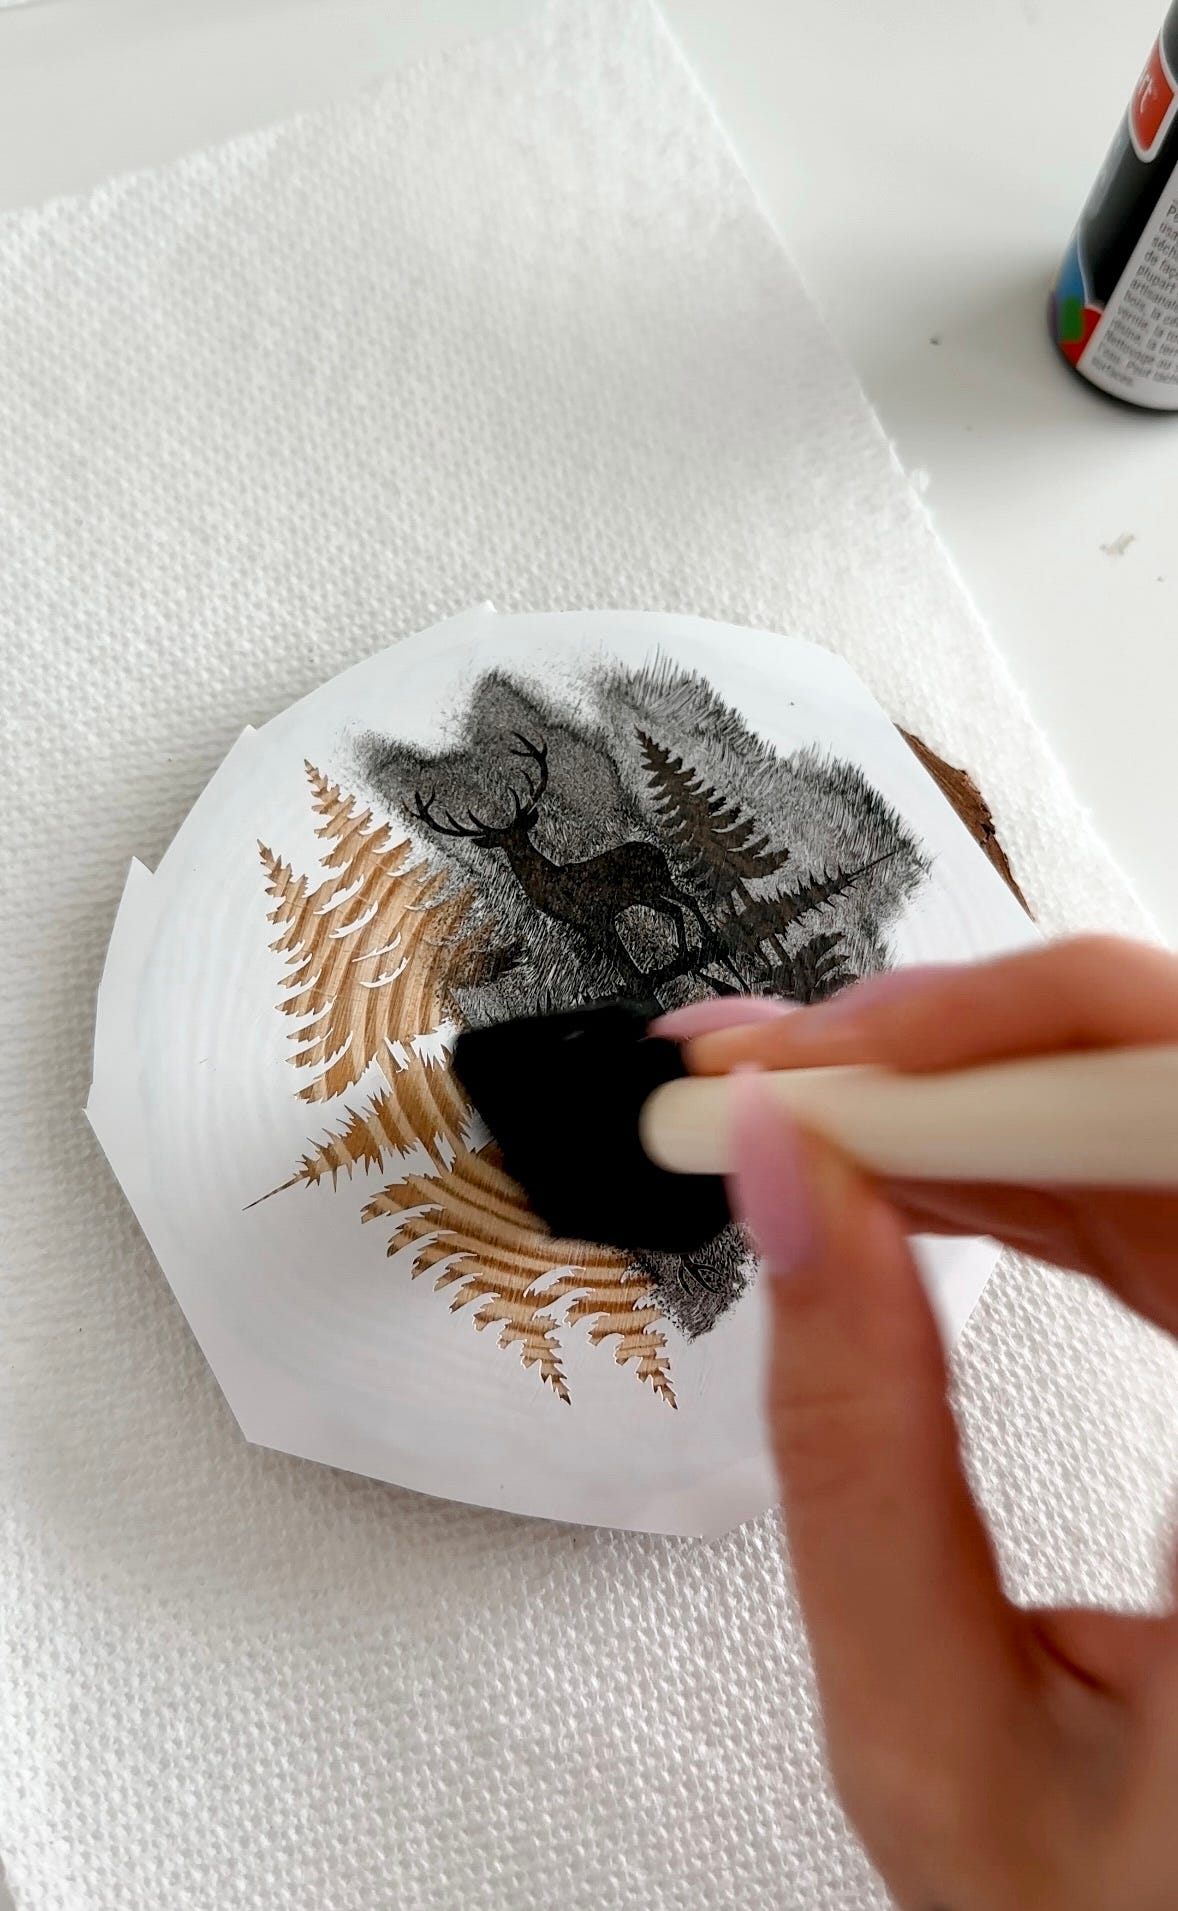
This is the step that saves projects. Apply a thin layer of Mod Podge first, over the stencil before painting.
This seals the edges of the vinyl and prevents paint from bleeding underneath.
Then once it’s dry, apply the paint using a dabbing motion. Always build the color with multiple, thin coats rather than one thick coat!
The thinner coats take a little longer, but you’ll get much cleaner results.
Step 6: Remove The Stencil
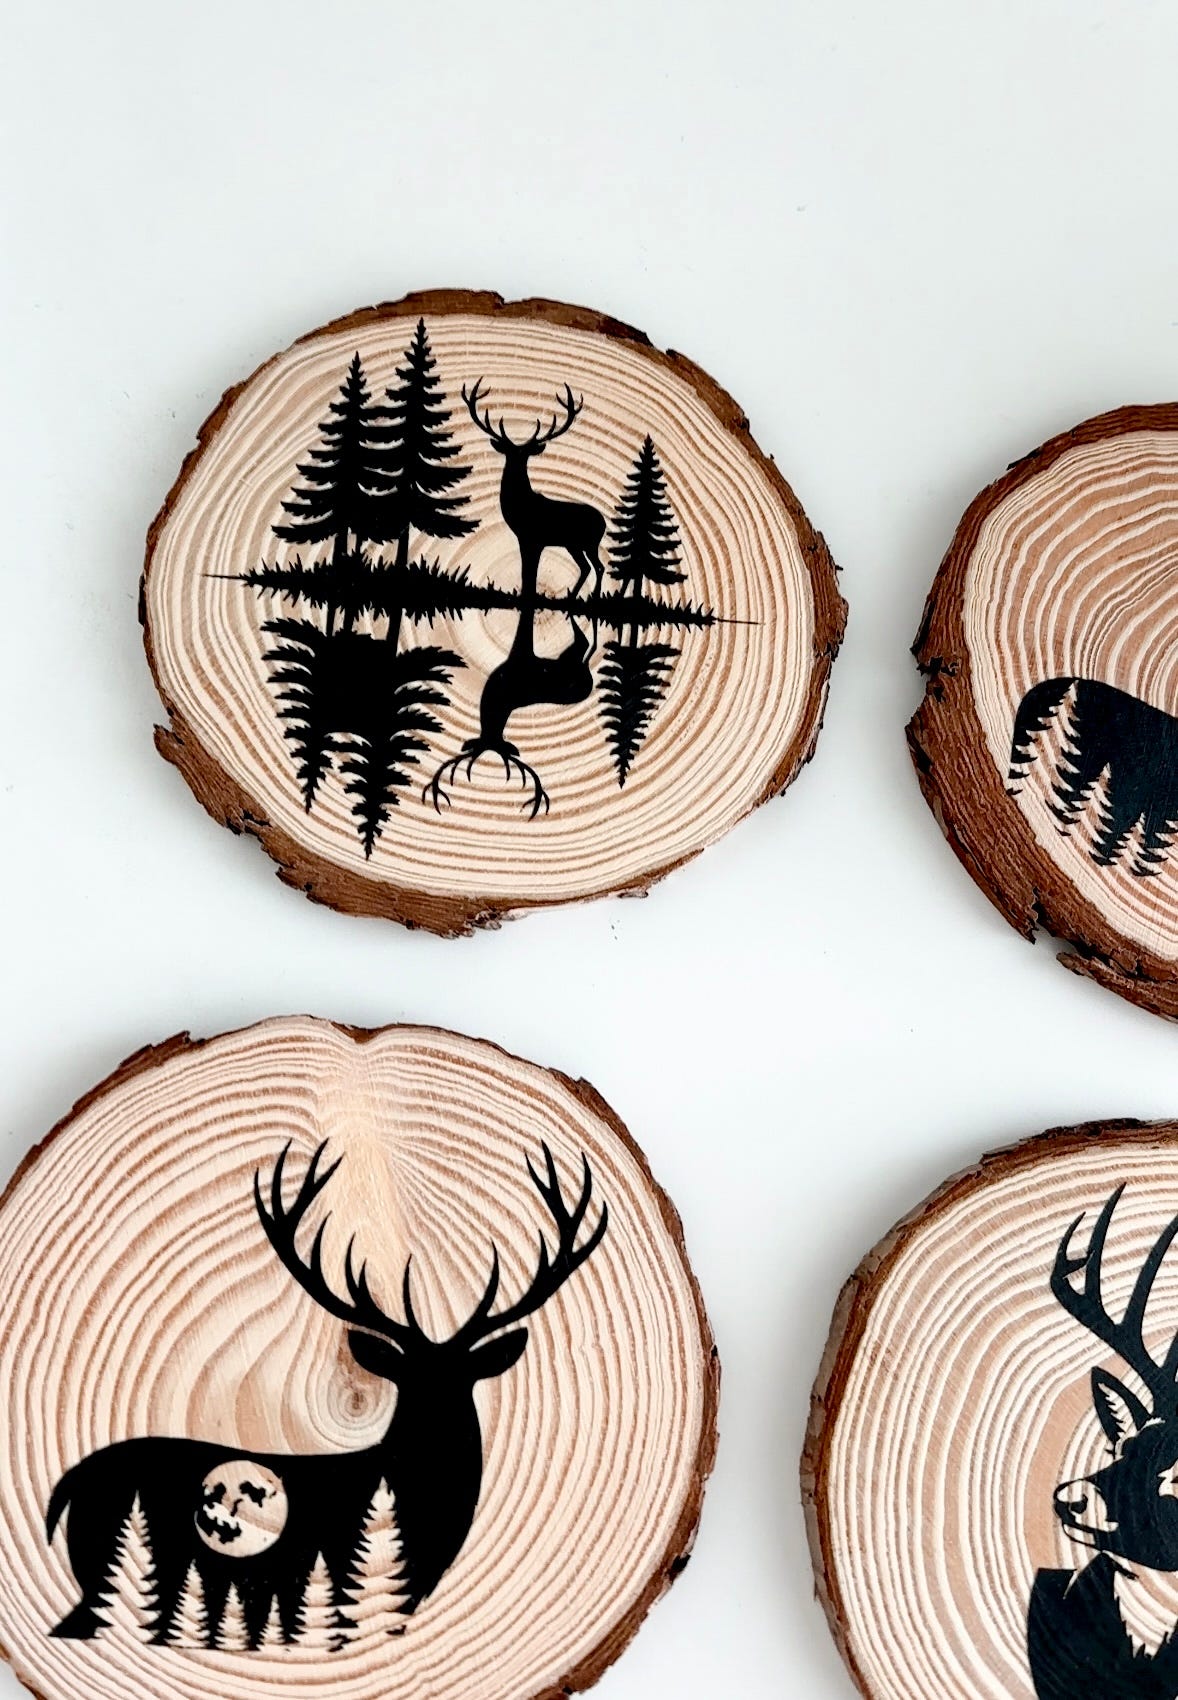
Immediately remove the vinyl stencil (even when the paint is still wet!)
This is always my favorite part because you finally get to see those crisp, paint lines.
Step 7: Seal Your Coasters!
To make these coasters durable and water-resistant, apply a coat of polyurethane.
I followed the exact instructions on my can:
Apply a thin, first coat
Let it dry for 3–4 hours
Lightly sand
Apply the second coat
Allow to cure for 24 hours
This extra step makes a HUGE difference in longevity!! Now, your coasters are ready to be used!
📸 Share Your Project
If you make these rustic, wood slice coasters, I would LOVE to see them 🤠🪵
Tag me @amymakesthat so I can see your beautiful creation!!
Before You Go…
If you enjoyed this Cricut project, you’ll probably like the other crafting posts I share here!
I regularly share:
Cricut tutorials
Honest tool reviews
Behind-the-scenes projects
Monthly SVG drops
If that sounds like your vibe, you can subscribe below so you don’t miss any future posts!
Happy crafting 🤎
Amy